Tuesday, 8 April 2014

Stencilled Anniversary Card


Okay, I confess, I've never used embossing paste before and this is a bit of a homemade attempt!
I made a set of swirl stencils from an old cereal packet which I ran through my die cutter, and well, to cut a long story short, it all got a bit messy.  But it was kind of fun too!
I'm entering this into

The Paper Players #190 Three Spree - I used 3 sequins, 3 stencils and 3 colours (blue, pink and green)
CASual Fridays #130 Good Egg
Virginia's View #2 Stencils

Wednesday, 19 March 2014

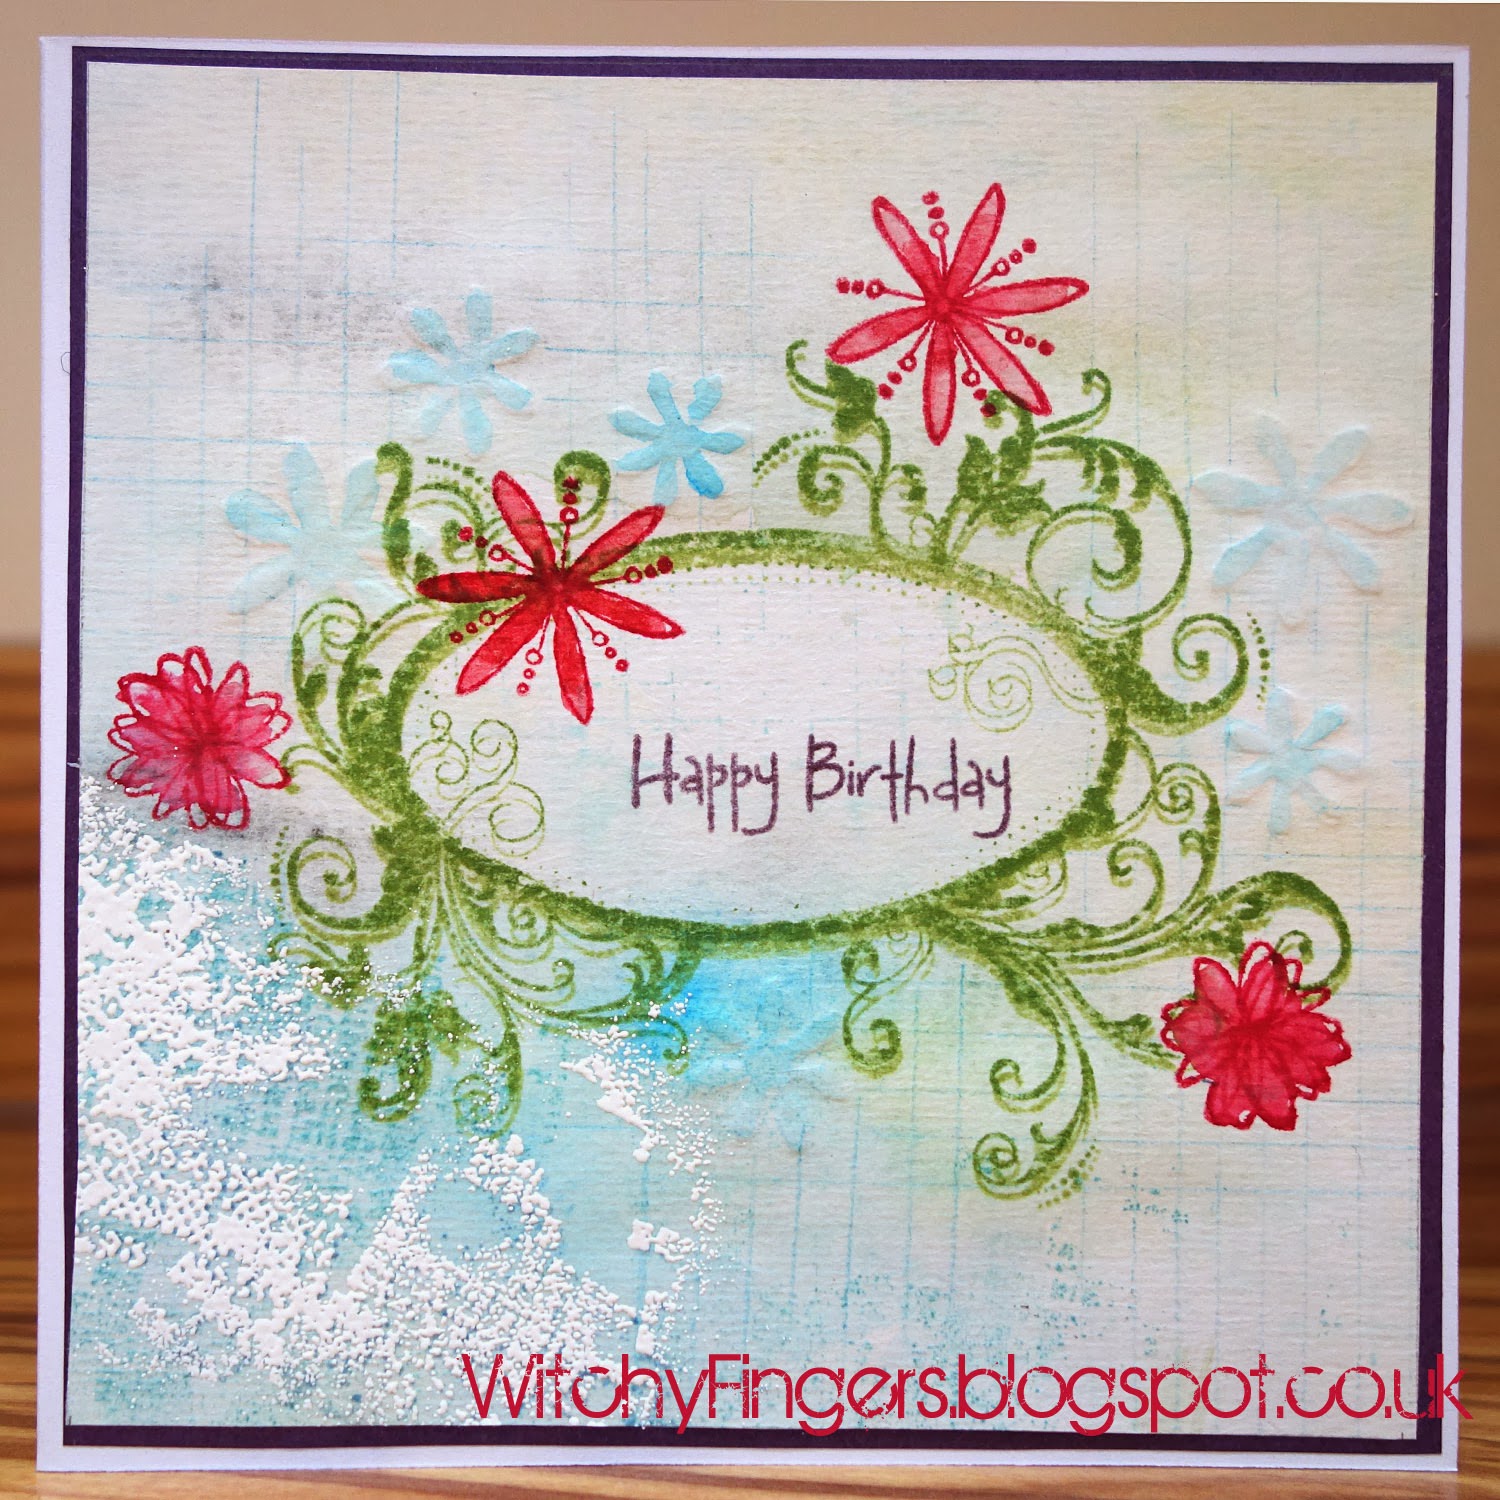
Stamped Mothering Sunday Card


I'm entering this card into three challenges -
The Paper Players #187 Clean and Simple, Spring
Less is More #163 Masking or Stencilling
Paper Smooches Sparks - Anything Goes


I loved the colours and flowers on the Paper Players theme picture and have tried to echo these in my card


I stamped the sentiment (with Paper Smooches Alphadot letters) and all of the flowers on to some scrap paper, then cut around each of them to make masks.  And then I did something really brave and stamped directly onto my card base (I don't do this very often!)
I quite fancied having the words on a coloured overlay so stamped them onto a piece of pink tissue paper which I then stuck on.
And finally, I had a go at a new technique and made a fork bow

Saturday, 15 March 2014

Water Colour Mothers Day Card


I love making this style of card where I don't have complete control of what's going on and have to just wait and see where the colours are going to go and how they mix.
I stamped and clear embossed the letters before putting some very wet water colours over the top.  When these were almost dry I stamped the images in more water colours so that they blurred and spread out a little bit, then stamped over them again in ink for a slightly more defined look. I then added a bit of shading to the edges of the letters to let them stand out a bit. Finished off with a few sequins and a bit of (faux) stitching around the edges.

Am entering this into
Virginia's View Challenge - stamped cards with water colours
Polkadoodles - week 11, Mum's the word
The House that Stamps Built DCC312 - Flower Show
Addicted to Stamps #86 Anything Goes


Monday, 3 March 2014

Hot Chocolate


I wanted to make a special card for my son's birthday.  He loves hot chocolate so I figured I'd make him a card to look like a take-away cup.
I cut the base out of an old cereal box then wrapped red paper around so that there was an opening at the top for a sliding insert which looks like the lid on the drink.


I crimped some brown paper, stamped the label (with Paper Smooches Alphadot letter stamps), added the dotty details (also from the Alphadot set) and added the little bow to finish off the cup.

The insert was cut from some glossy white card, stamped and then layered with red, yellow and blue cellophane overlapped to get the rainbow effect.

Am entering this into
Paper Smooches Sparks - Anything Goes

Fashionable Stamping - Anything Goes


Thursday, 6 February 2014

Love Birds


Well this card has definitely been created in my comfort zone!
Water colour background, overstamped in inks while still wet, then more stamping in water colour paints after the first layers had dried, more stamping, die cuts and some added bling.  Love it.  Well, I do, hope you do too!

Entering this into
Stamp Away With Me - Comfort Zone challenge (used Love Birds dies)
Simon Says Stamp Monday Challenge - Love Notes
Colour Q #227


Tuesday, 14 January 2014

Union Jack Seventy


I've been thinking about making this card for days - I've picked up lots of inspiration that's been firing my mojo and it's been a bit of a challenge putting it all together!

The top priority was to make a birthday card with a big 70 on it, and after seeing this weeks Runway Inspired photo where the fabric colours and the strap pattern of the model's shoes made me think of the Union Jack I wanted to add one to my card somewhere.


I played around with some ideas for a bit but didn't come up with anything until I saw this weeks Sketch Saturday, and everything just kind of fell into place


I started off with some water colour paper and laid a background muted colour wash, then while it was still wet stamped the Union Jack in more water colours so that it kind of bled and the colours ran around a bit, then left it to dry.
Meanwhile, I got out the craftRobo for my second attempt and used some thicker paper this time to cut out the numbers... it worked much better!  The sentiment was cut from the computer too.
Finished it off with a selection of sequins and gems.

I'm also entering the Friday Mashup - Birthday Themed Project (sorry, I wanted to use the twine too, but couldn't work it in!) and Papertakes Weekly Challenge - New Year, New Stash (I used my new CraftRobo for the second time ever and it's the first time I've used the Union Jack stamps)


Monday, 6 January 2014

Adventures with a Craft Robo


Happy New Year!
I've been busy playing with my new toys!
I cut out the sentiment with a Craft Robo.  It turns out that using normal computer paper is a bit too thin and it sticks to the carrier sheet a bit too well, it was quite tricky to remove the words but as it was my first try I was determined to see it the whole way through and use it on a card.
I stamped the circles (Paper Smooches - Pot Pourri) directly onto the card - I had to be very careful to line them up and mask the edges properly).  The white lettering didn't stand out very well  against the background so I mounted them onto some black card first which I hand cut.  Finished it off with the gold sequins and a thin black border.

Entering this into
Colour Q #222


and Paper Smooches - wk 1 Anything Goes


Tuesday, 31 December 2013

Farewell 365 Cards


Goodbye 365 Cards, today is the last day of four years of challenges, Pam and the team have done an amazing job of posting a challenge every single day.  Thank you for letting me be a part of it for the last five months, it's been fab.
I'm re-posting the first card I made for my DT stint as it's the one that kick-started my crafting mojo again!


Saturday, 28 December 2013

Paper, scissors and flowers


Today at 365 Cards it's time to play with sharp objects  :-)
The challenge is to make a card using at least two different sharp tools to create your card.

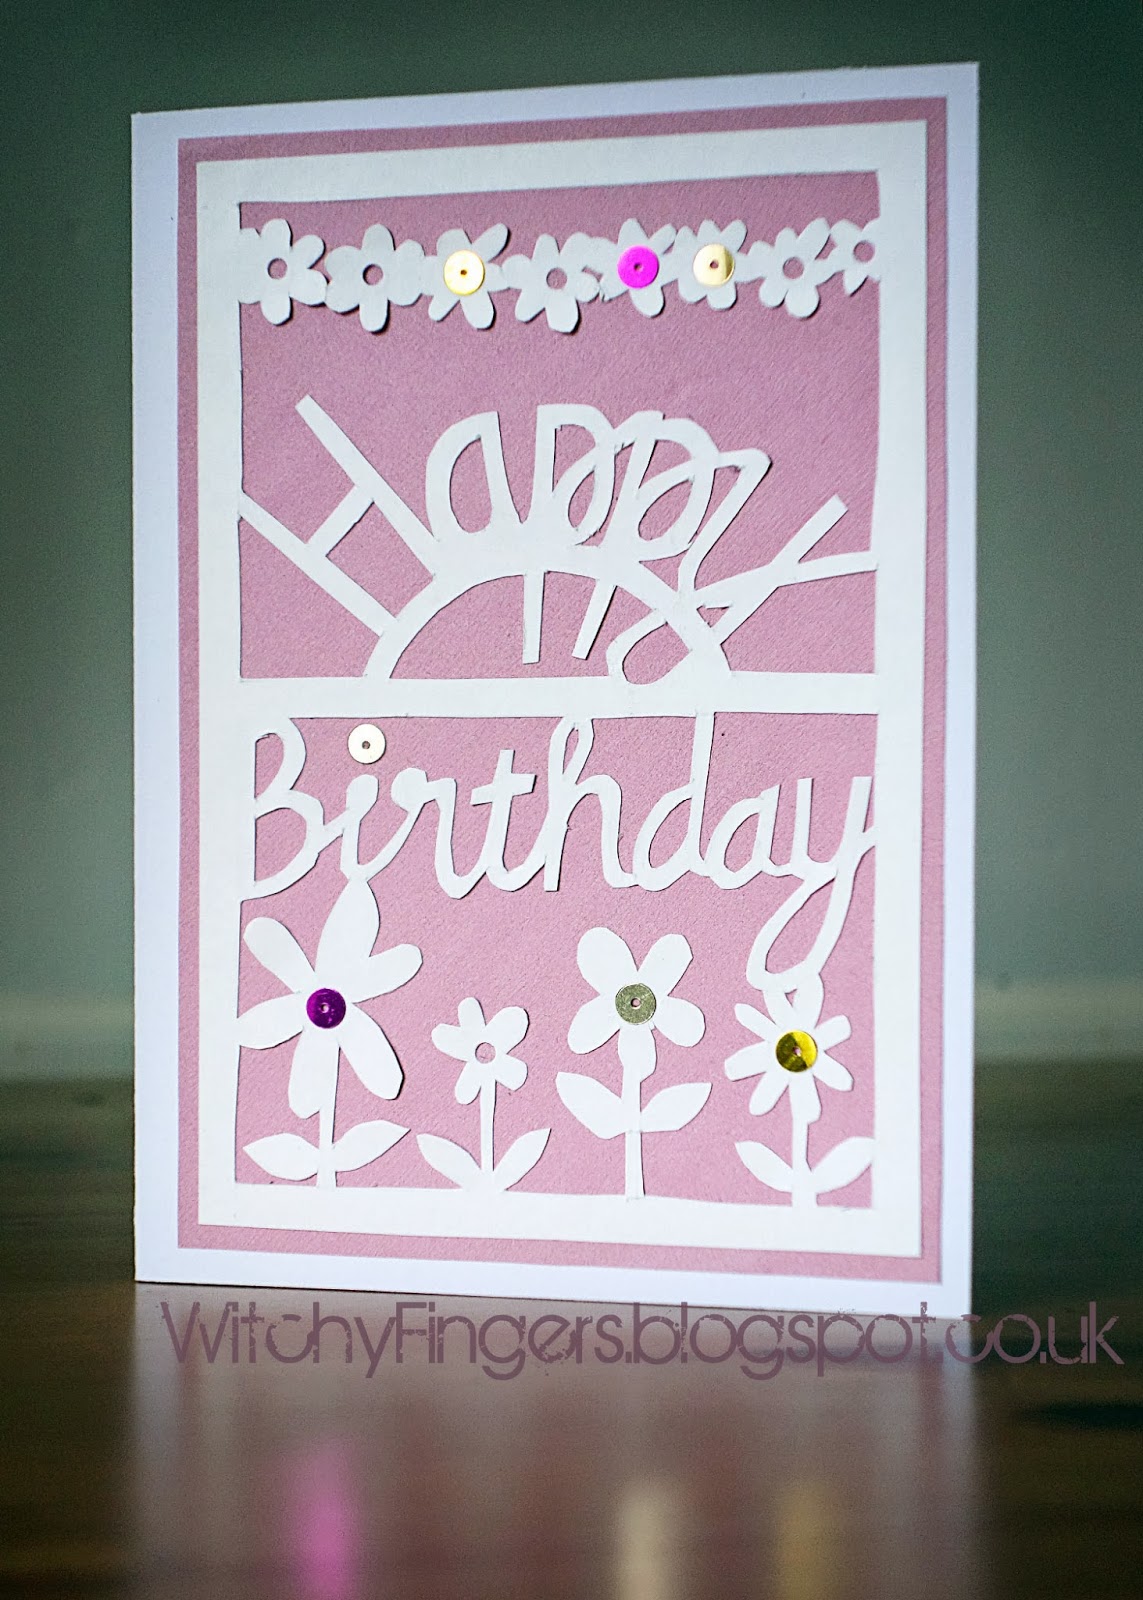
I hand drew out my birthday greeting and flowery border on a sheet of plain white thin card and very carefully cut it out with a pair of very pointy scissors.  I punched holes in the flower centres with a hole punch then glued it onto a sheet of pink paper before sticking it on my card base and adding the sequins.

I'm entering this into Pinspired's final challenge, I love the layer of white icing on those snowflakes and was inspired to use a white cut out layer on my card.


and also entering this into
Papertake Pick of the Year (I've chosen the challenge from 20th Aug - Flower Power)
and The Pink Elephant challenge 231 - Anything Goes

Saturday, 14 December 2013

Keep calm and eat chocolate


If you're here for the Lawnscaping Blog Hop either scroll down or click here

Today's challenge over at 365 Cards is Mixed Messages, where you incorporate images, stamps and even patterned paper that already have lots of words on so there's no single sentiment on the card.
I started off by making my own background paper for this card with lots of birthday messages for my intended recipient.  On to this I stamped the Keep Calm instructions, and then managed to find some Happy Birthday paper in my stash.
Finished off with my flower, swirls (die cut in pink tissue paper) and sequins


Friday, 13 December 2013

Winter Wishes


Yay, it's blog hop day!

Hello, here for the Lawn Fawn blog hop? (you should have come from Bev's Happy Dance.  If you're a bit lost, or want to know what on earth I'm talking about you can return to Lawnscaping here to find out all the details and the prizes on offer)


Hope you've got a comfy seat and a cup of something warm, if you've made it this far you're doing well, you're half way through!  I'll try and keep my post short ....

I used Lawn Fawn's Frosties stamp set


to make the cascading snowflakes down the card background, these were heat embossed in white, and then sponged over with light blue, pink and violet inks.

I typed my sentiment on the computer then used Photoshop to bend and angle the text which I put inside a white frame.  Next I added a colour gradient background in similar colours to the inks I'd used.  Then, the fun part - I printed onto white card and fussy cut away all of the background leaving just the text and frame which I stuck over the snowflake background.  I was a bit worried that I'd lost the dots over the letter i's so added some sequins to replace them, then, 'cos I like sequins stuck on a few more!  And ta daaaah, one winter card in softly muted wintery colours, hope you like it!

That's it, I'm done, don't forget to leave me a comment to say you've stopped by, and your next stop on the hop is Tamara.  Thanks for visiting!


Saturday, 7 December 2013

Partially Pieced


Today's challenge at 365 Cards is to use paper piecing for part of a stamped image.
I'd been itching to use this guitar stamp since I won it on ebay recently.  I sponged the background in a few shades of blue and grey and stamped the music notes, fussy cut the guitar and swirls on white paper, then fussy cut the stamped guitar on polka dot paper.  Added the sequins and sentiment, then spent a little while trying to photograph it and get my sequins to shine!
Am also entering this into Papertakes Anything Goes challenge.

Saturday, 30 November 2013

Simply gifted


Hello, wanna come and play at 365 Cards today?  The challenge is to make a card and include a present or gift on it.
I was initially a bit stuck for ideas, but when I got started I thought of more and more things to add.
So, I started with a square of patterned paper, then overlaid a smaller square of white card with a rectangle cut from the middle to make my gift.  Next I added my ribbon bow thing (I'm sure it's got a proper name but I can't think of it right now ...) I started with a glue dot on a piece of its backing paper and folded and glued down loops of the ribbon, then finished it with a pink gem.  After adding the length of ribbon around my gift, and the (8) sequins, I figured it needed a gift tag too and was delighted to find my teeny tiny tag punch, and even more delighted to find a stamp set with 'for you' small enough to fit on it!
I stamped the Happy Birthday sentiment, then added a shadow to it by stamping again without re-inking just next to it.

I'm also entering this into
CAS-ual Fridays - Create with 8
CASology - Shop
Inkspirational - Anything Goes


Saturday, 23 November 2013

Polka Dot background card


I downloaded the free digi stamps from Paper Smooches recently (they're available here) and have been rather keen to use them, so thought I'd enter their colour challenge this week


I've combined this with Lawnscaping's polka dot challenge too


I printed the owl and squirrel along with the sentiment (the font is a free download from here), then painted and fussy cut the critters out.  I hand drew (well, with a circle template) the polka dot background for the greeting before applying some watercolour.  I chopped the squirrel up a bit (no animals were harmed in the making of this card, honest) before sticking him and the owl on.

CAS pink flowers


This week at 365 Cards we've been setting our challenges on beautiful backgrounds, and today I get to join in with a white background card.

I took my inspiration from the Runway Inspired Challenge #48


I drew out an elipse shape and stamped my sentiment inside, then stamped (with a bit of careful masking) eight flowers around the edge.  All the stamping was done in grey then I went over some of it with a black pen.  The flowers were watercoloured with a light pink wash and a few pearls and gems added to finish it off.

Dare I say it, but for a CAS card I'm actually quite pleased with it  :-)

I'm also entering this into CAS-ual Fridays' Create with 8 challenge


Saturday, 16 November 2013

Stamp and Stitch Chalkboard Cake Card


Today over at 365 Cards the challenge is to use two techniques - stamping and stitching

I used the chalkboard technique for the focus of the card and framed it by stamping some planks on brown packaging paper which I've sponged over with white and grey inks.  These were fussy cut out and then cut to length to make a rectangular frame.
This was mounted onto some plain red paper and then onto the patterned background paper.  I've done some faux cross-stitching to join the two red layers.
I stamped, water-coloured and fussy cut the leaves and cup cakes.
All finished off with a big spotty ribbon and a touch of gold glitter.

I'm entering this into The Shabby Tea Rooms Challenge #192 Holiday Baking

Saturday, 9 November 2013

Pretty Printing Anniversary Card


Hello, welcome back and thank you to everyone who left me such lovely comments last week.

Today's challenge at 365 Cards is Pretty Printing - hand write your own sentiment, and make sure it's at least three words long.

I love sets of alphabet stamps so that I can print my own personal message on a card but handwriting a sentiment is a bit scary.  Still, in for a penny!

Last year I went to a big craft show and bought a set of foils and a glue pen.  Well, actually, I bought the big pack because the lady demonstrating it made it look so easy and I thought it would look really great on a card.  This is the second time I've used it and I haven't quite got the knack yet, hence it's all a bit bumpy!  And I have a bit of a confession.  I was concentrating so hard on making the letters look pretty that I made a bit of a spelling mistake.  Doh.  You're looking at version 2!

I found some pale blue background paper and wrote my sentiment with the glue pen.  Then waited a g e s for it to dry before rubbing over a dark brown glossy foil.  Meanwhile I die cut my flowers out of the Colour Q pallette and stamped my leaves before fussy cutting them.  I love the Runway picture with the flowers over the model's shoulders and the stripes at the bottom so thought I would add a few stripes of my own to the card.  Finished it off with the buttons, twine and glitter brads.

I'm entering this card into
Lawnscaping Challenge #69 Let a sentiment stand out
Runway Inspired Challenge #47 Alberta Ferretti


Colour Q #214

and
The Daring Cardmakers - All the other reasons

Saturday, 2 November 2013

Life is better at the beach


I've heard that everyone can be split into two distinct groups - you either love the seaside or the mountains.  Well, I'm a beach girl, no doubt about it!

Today we're having a blog hop and give away over at 365 Cards.  We (the DT) are all making cards in our own favourite styles.  The challenge is to scraplift your favourite one of our designs. Take a tour around and see what you think...

Audrey
Carla
Letisha
Janice
Michelle
Pam
Rose
Ruth (that's me)
Wendi
Yvonne
Victoria

Once you've visited everyone (and left a comment on each blog), go to the 365 Cards site and comment that you've visited us all (and who your favourite was) and a winner will be drawn at random to win a prize package of crafting goodies.

I started with the beach background paper with that fabulous sentiment.
I tore a piece of paper to mask off the centre of the card before stamping the grid under the anchor paper strip.  The grid and chevrons are in perfect plum.
To give it a seaside feel I knotted some bakers twine into a rope and strung it in a wave pattern.  Then, I'm a bit proud of myself for the next bit, studied a book of knots to make a continuous ring hitching around some small split rings!
The seagulls are stamped and fussy cut, the pair of seagulls involved some more masking.  And I've added a little wooden button to finish it off.

I'm entering this card into
The Craft-Room Challenge - use stencils and/or masks
Just Add Ink #189 Colour Challenge (crumb cake, perfect plum, raspberry ripple and white)


The Friday MashUp #134 Got Chevrons?
Totally Papercrafts #191 Button It Up
Simon Says Stamp - Anything Goes


Saturday, 26 October 2013

Leaves and woodgrain birthday card


I went out for a lovely walk earlier this week with my little girl and we collected lots of leaves together.  We then spent a happy afternoon inking the leaves and using a brayer to make leaf impressions on some brown paper.
I cut mine out to make a card.  She cut hers out to decorate the table.  And her chair.  Oh, and the floor.  But she had a good time!
I love the Trigger Tuesday picture at Moxie Fab World...


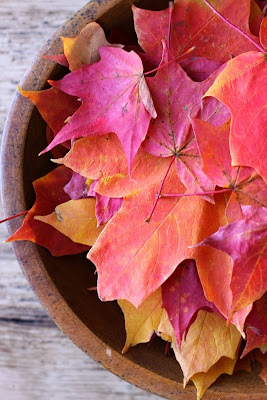
..and felt inspired to make a card with the woodgrain background, the brown of the bowl and those beautiful coloured leaves.

I watercoloured and stamped the woodgrain background, die cut the birthday boy's name and stamped the Happy Birthday sentiment.

I'm also entering this into
The Ribbon Girl - October colour challenge (brown)
and
Fashionable Stamping Challenges - make a card


Zentangle Christmas Trees


This week over at 365 Cards we're being sponsored by DRS Designs, one lucky winner will receive a gift certificate to shop in their store.

I've started with their Christmas sentiment as a digi stamp (I know, two weeks in a row that I've ventured into the world of digital design!), and the rest I put together in Photoshop.

I fell in love with zentangling when I first saw it but have never actually tried it before.  I zentangled my Christmas trees (well, I don't really know if this qualifies as zentangles or if it's actually just a bit of doodling!) and added a texture and colour gradient in the background.  I also added a light blue shadow to the text before printing it straight onto my card blank.

Am entering this into
Papertake Challenge - Oh Christmas Tree
Top Tip Tuesday #112  Black and White and a Splash of Colour
Aud Sentiments - Christmas Sentiments


Related Posts Plugin for WordPress, Blogger...